"Lipstick effect": one technique - different shading
Expert advice

The spiral shading technique has already outlived its usefulness, according to many permanent makeup masters. Experts are sure that the combination of spiral and straight shading will give an excellent lipstick effect on the lips.
Nadezhda Kosolapova , cosmetologist, PM master teacher, speaker of PM conferences, organizer of the 1st and 2nd Crimean PM conferences, chairman of the jury of the 1st Crimean Permanent Makeup Championship, winner of the Leader of the Year 2017 award, founder of the Crimean Club of PM masters (Simferopol, Crimea)
Each technique in permanent makeup is built from a sequence of strokes, thanks to which we get different effects on the lips, eyebrows and eyelids. If we add different configurations of needles and their sharpening to our work, we can get amazing works with excellent pigment laying in the skin.
Different masters will have their own opinion about spiral hatching, the so-called fill. Some will say that this type of shading is the last century. You can adhere to any opinion, the main thing is the result. The combination of spiral and straight shading will give a great lipstick effect on the lips. In the photo, I will show you several options when the lipstick technique is performed in two types of hatching, but with different needle configurations.
Of course, working over the entire plane of the lip with a small number of needles, you complete the procedure longer, but the pigment lies more densely. Yes, when using any needle, the direction of the stroke is also important, which means that moving the needle from the contour to the mucous will give the color density. If you put the device at a 90 degree angle, you will get more air filling in the same strokes.
My technique
Personally, I perform lips in various techniques, ranging from contouring with shading to, for example, the Salvador Dali technique. In each of them I use a different configuration of needles, different sharpening, different shading, different hand speeds. For example, I make “lipstick” with needles 1 RL, 3RL, 3 RS, 5 RS, 5–7–9 and others. And also in this technique I use linear and spiral hatching, since it is this type of stroke that gives a dense stacking of color. Let's take a look at how each of them works and looks like.
Linear hatching refers to a stroke consisting of several lines without lifting your hand. It can be performed both with short strokes of 1–2 mm, and with longer strokes of 3–4 mm. Strokes can be straight or rounded. Important for beginners: this is not a pendulum. Hand movements should be slow, because the faster the hand moves, the less pigment remains in the skin, but this by no means means that you need to stagnate. In the pictures you can see how this stroke looks on the latex.
Rice. 1. Linear hatching, needle 3 RL
Rice. 1a. Linear hatching, needle 1 RL
The spiral type of hatching is a combination of different sizes of rings, different shapes. An oval can be created behind the circle during the movement of the hand. The direction of the spiral is of great importance. Surely in the practice of each master there was a double circuit! To beautifully lay the contour in a spiral hatching, you need to set the direction of the stroke, as if you were picking up the contour line.
Rice. 2. Spiral hatching, needle 3 RL
Rice. 2a. Spiral hatching, needle 1 RL
Spiral and linear shading can be combined in one technique, which will bring new nuances to the final result of the procedure.
Rice. 3. Superposition of spiral and linear hatching in 1 pass, needle 3 RL
For air effects, other types of shading are used. To achieve a gradient, it is enough to put less layers of pigment or add a color that will be lighter, that is, additional.
The lipstick effect on the lips can be done with one color of paint or several. To use several colors, you need to collect the base color of the paint in one container, and in the second container for mixing pigments, take the base color and the additional color in a ratio of 40/60 to obtain a shade, but in the same color range. In this case, during healing, the color scheme will be uniform, but with a tint in the places where the additional color is laid.
Photo 1. An example of a combination of colors to perform a lipstick effect
I would like to show photos of works with different colors and using different needles. In the photo, as well as during healing, the difference is practically not visible, but for each type of skin I advise you to choose your own approach to achieve the task.
Photo 2. Work on aging skin. Dragon device (without block), through an adapter from the network, needle 1 RL, diameter - 0.4 mm. Overlapping an old tattoo and reshaping (2016 work).
The shape of the lips was enlarged in a big way to the skin, so I chose this particular needle. Thanks to 1 RL, I had good control over where the pigment should be more and where it should be applied less, as it looked darker in combination with the old tattoo. There is another reason why I chose this particular tactic - this is the age of the client. At that time, she was about 50 years old, but the skin of her face was loose, and the skin of her lips was thickened, had "purse-string" wrinkles. And if I used a traditional needle while working, I would cause more trauma to it, and this, in turn, could lead to more color rejection and a longer healing period.
Why this particular device? It's simple: in this device, if it is original, the sharpening of the needle is bullet-shaped, which allows you to quickly, without unnecessary trauma to the skin, introduce the pigment using this particular type of shading.
Photo 3. Work with the Goochie device (without block), through the adapter from the network, needle 3 R, diameter - 0.35 mm. Working with two colors
A client without an old lip tattoo. Wish: lipstick effect, since she always painted her lips only with lipstick and never with gloss. Obviously, spraying or watercolor will not work in this case. After analyzing the face and placing accents, I wanted to not just make a lipstick effect, but play with the color scheme, the gradient.
Thanks to the sharpening of the needles, the original Goochie achieves a lot, in this case the microneedle was needed for the softness of the color. The device and this configuration of needles, combined with a fondant stroke, allows you to create a density of color. It also allows you not to leave this dense color in the lips for a long time (no more than 2 years) due to the diameter of the skin puncture. Along the contour and to the middle of the lip, I used the base color. At the contour, she combined spiral and linear shading, and closer to the middle of the lip, she applied fewer layers of linear shading. Continuing to work with an additional color on the mucous membrane of the lips, I did not use linear hatching at all, but only a spiral one. Thus, with all the color density, I got a gentle gradient.

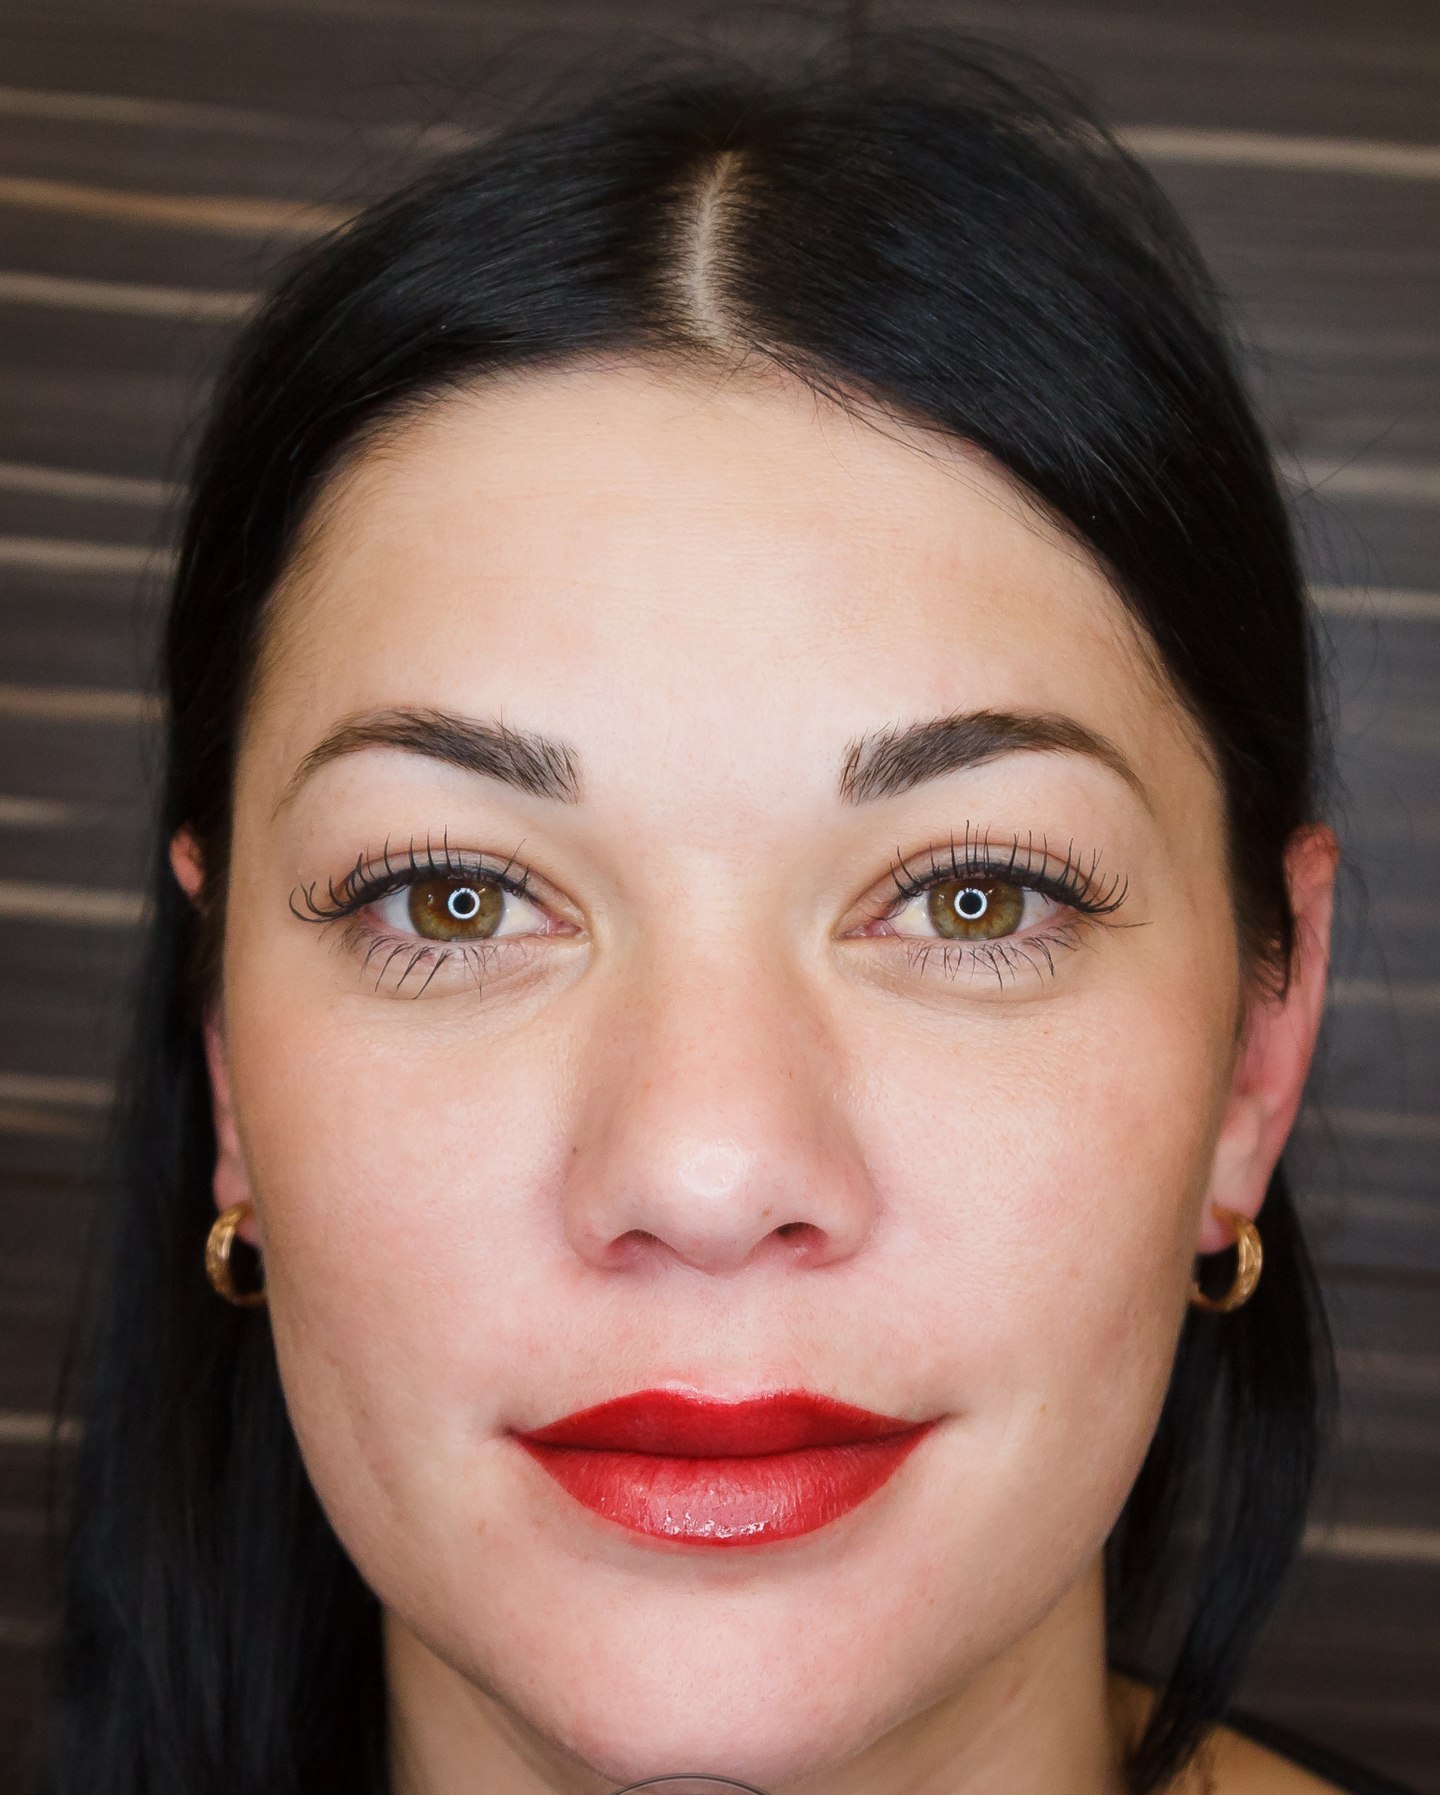
Photo 4a–c. Work with the Ximuka device (analogue of Goochie) with the Diamond II block, needle 3 RS, diameter - 0.35 mm.
Thanks to the current injection techniques, many girls have the opportunity to correct the shape of their lips by a cosmetologist, but there are also those who cannot do this for some reason. In case of contraindications to injectable shape correction, permanent makeup comes to the rescue.
I have done many similar procedures and experimented with different colors and needle configurations. In my opinion, in this case it was necessary to use a 3 RS needle and, of course, a device on a block for soft color styling. Of course, with time the pigment is washed out, the skin will be visible, but this is the best that I could offer the client, informing her about the further behavior of the pigment in the skin.
Throughout the plane of the lips, I used spiral hatching, which at the end I covered with linear hatching. Also during operation, I repeatedly changed the speed of the device through the block. On the block during the procedure, parameters from 60 to 120 were used, and on the handle - from S to 2. In my work, I used a traditional needle. And, of course, the number of passes over the skin (at the site of enlargement) was more, but the speed on the device was less so as not to deepen the pigment.
In the photo, the client is before tattooing, immediately after and already with healed skin, taking into account the correction. As a result of two procedures, visual alignment of the shape of the upper lip is visible.
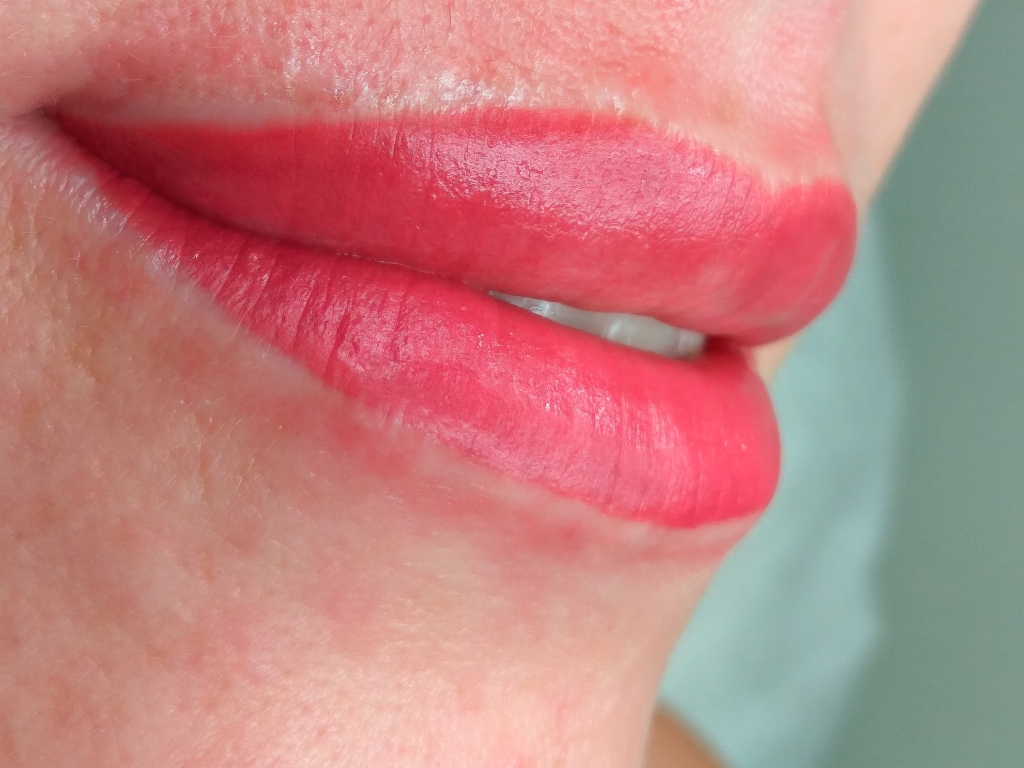
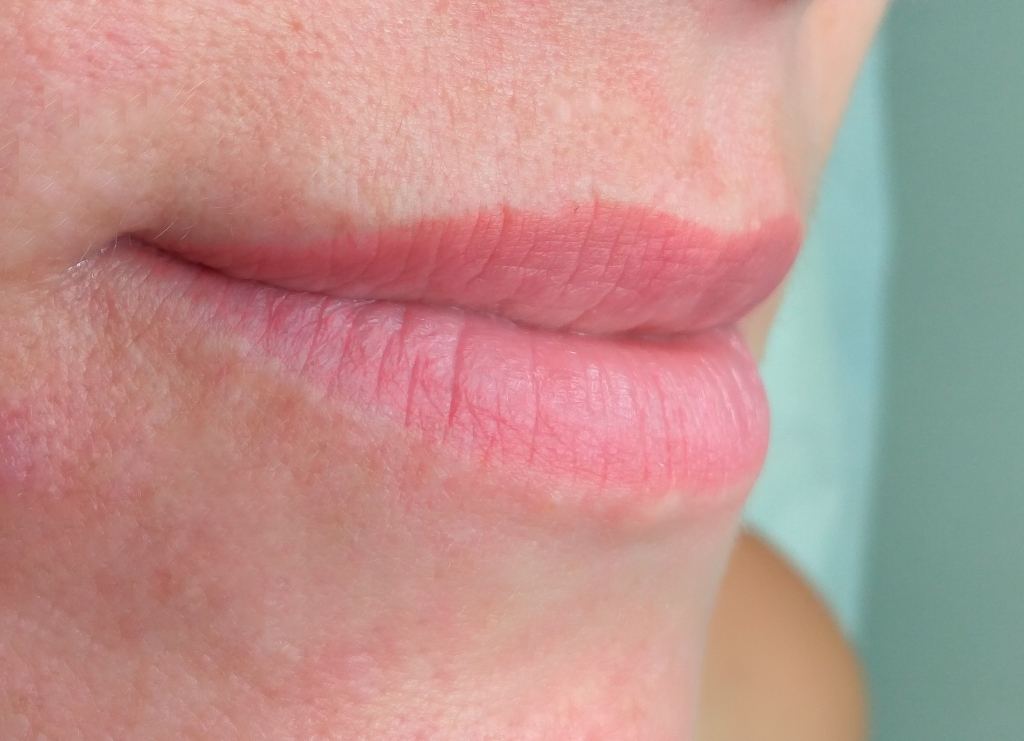
Photo 5a, 5b. Work with the Simphony apparatus (replica), with the Diamond II block, module 3 RL and 5 RS.
Previously, I performed lip tattooing and correction with another device using a similar technique, but more airy, for a client. Due to very dry skin, the pigment was not absorbed in the desired density and color range and looked transparent on the lips. Special preparation for moisturizing the lips before the procedure did not give the desired result.
During the repeated PM procedure, hatching tactics were applied. Working with a machine with bullet-shaped needles, I used a 3 RL needle to tighten the contour, and 5 RS for a softer distribution of color over the entire surface of the lips. In this case, this decision was justified by the fact that the client wanted a clearer contour, in the same color scheme, without a detailed edge. The speed of the device was adjusted differently for different needles, since the triplet has less skin resistance than the five. All configurations of needles had to rub the paint without pressure and at an angle of 90 degrees. Due to such laying of strokes, the pigment lay down tightly, the result turned out exactly as the client wanted (photo before and immediately after the procedure).
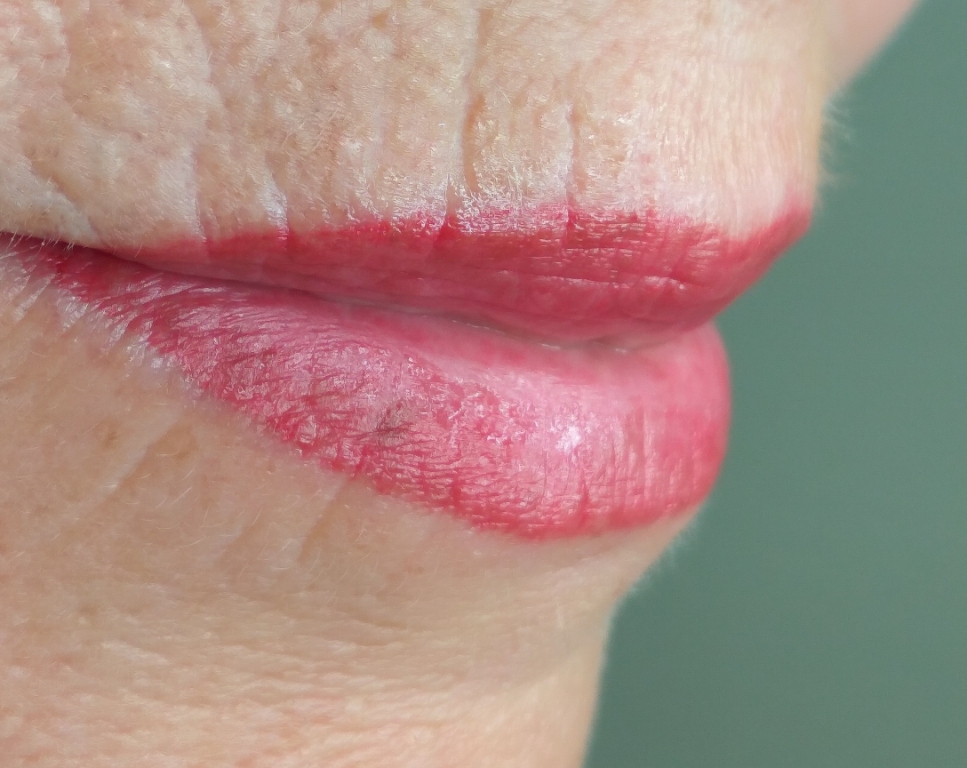
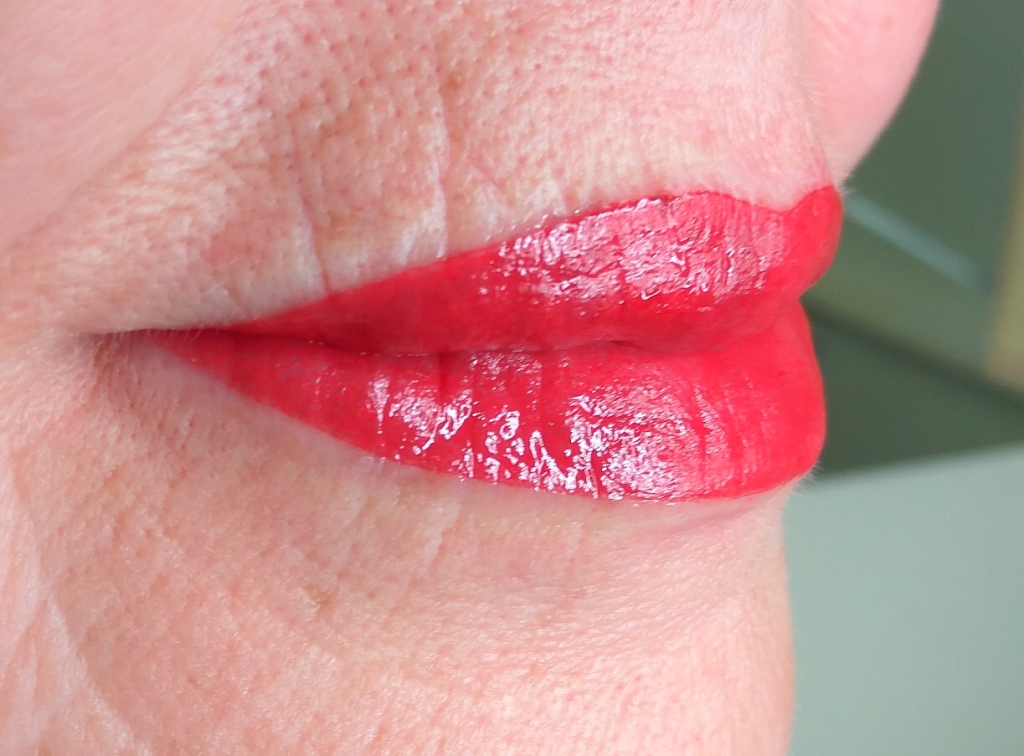
Photo 6. Working with Aiea Linelle (replica), with Diamond II block, module 3 RS and 5 M1.
The age of the client is 60+. The complexity of working with older clients lies in the fact that the skin is flabby and thin, has wrinkles along the contour of the lips. The pigment in such skin fits faster, and the rehabilitation period is longer. Also, sometimes the fragility and proximity of blood vessels, high blood pressure and the use of blood-thinning drugs complicate the process of work.
The 3 RS needle helped to fix the contour airy, without indentations, as the 1 RL needle could have left. Along the contour of the lip (for fixation), I used the spiral hatching technique, thickened the contour also with a 3 RS needle, but already in linear hatching. Filling directly with color was done with a 5 M1 needle in a spiral technique, but completed the procedure with a thinner bunch of needles so that the pigment was evenly distributed. In my opinion, this is the best choice of shading and needles for the task of making lips bright.
In the photo, the client immediately after the procedure and three months later. It was decided not to do the correction, since the pigment was saturated and there were no visible reasons for it.
Read also
- How to expand the arsenal of services of a permanent makeup master: mini-tattoo
- New customer requests: modern micropigmentation
- Are you not bright? or What determines the color of the lip tattoo
- Permanent lip makeup: correcting the shape
- Lip Correction Techniques: Theory and Practice of Permanent Makeup
- Eyelid art tattoo: makeup artist tips when choosing a color
- Antitrends in permanent makeup in 2020
- Natural permanent makeup: style trends
- "Colored mother-of-pearl": creative multi-color shading of the century