Drawing natural eyebrows: a workshop for permanent makeup masters
Master class from an expert

The hair technique for performing permanent makeup of the eyebrows is the most effective and one of the most difficult at the present time, and the methods for applying the pattern of hairs are constantly being improved.

Anna Zabolotnaya , Head of the International Academy of PM and Aesthetic Dermopigmentation "Biotek" (Russia), certified artist, international class master teacher in permanent make-up, aesthetic dermopigmentation and trichopigmentation, winner of the first Contour of the Century competition (2003), judge of permanent make-up championships in Russia and abroad, lecturer at the International University of PM (Milan, Italy) (Russia)
This method is quite versatile and can be used for blood with or without natural hairs. Hairs can (and should) be connected and crossed with each other, the main thing is that each of them is well “read” and does not look like the previous one. This procedure can be offered to clients of any age and gender. A full-fledged permanent eyebrow makeup lasts, as a rule, for a year and a half - it all depends on the age of the client, his lifestyle and the color of the pigment.
Procedure steps
- We start working on the creation of the BM eyebrows by applying a preliminary sketch . To do this, I recommend using a cosmetic pencil, the color of which completely matches the color of the selected pigment. This is done to make it easier for the client to imagine the end result. When the sketch is completed, the client must check it with you to confirm the symmetry.
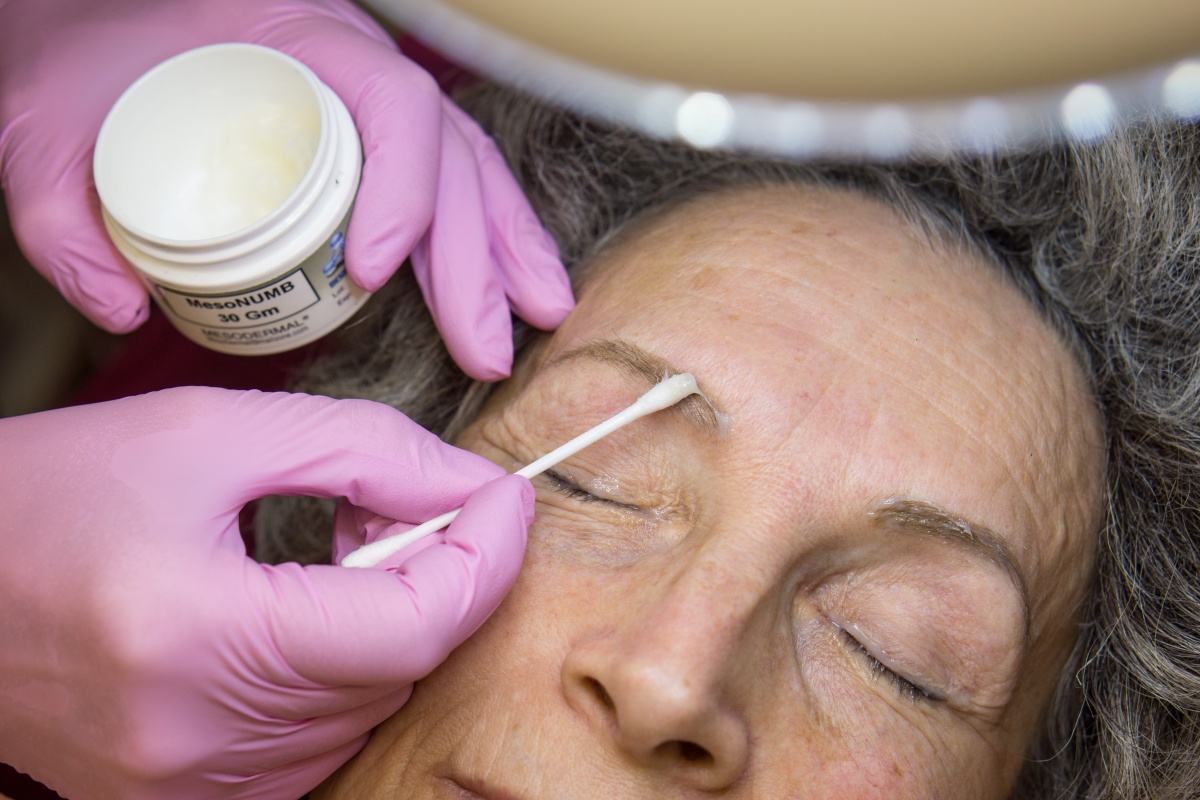
- Hair technique is performed under topical anesthesia . It is very convenient to apply the anesthetic with a plastic spatula, which does not absorb the agent. To enhance the effect of the pain relief cream, you can cover the area to be treated with an occlusive dressing.
- For drawing hairs, needle No. 1 is always used. There are different types of this number, each of them is used for a specific type of skin and depending on the thickness of the natural eyebrow hairs.
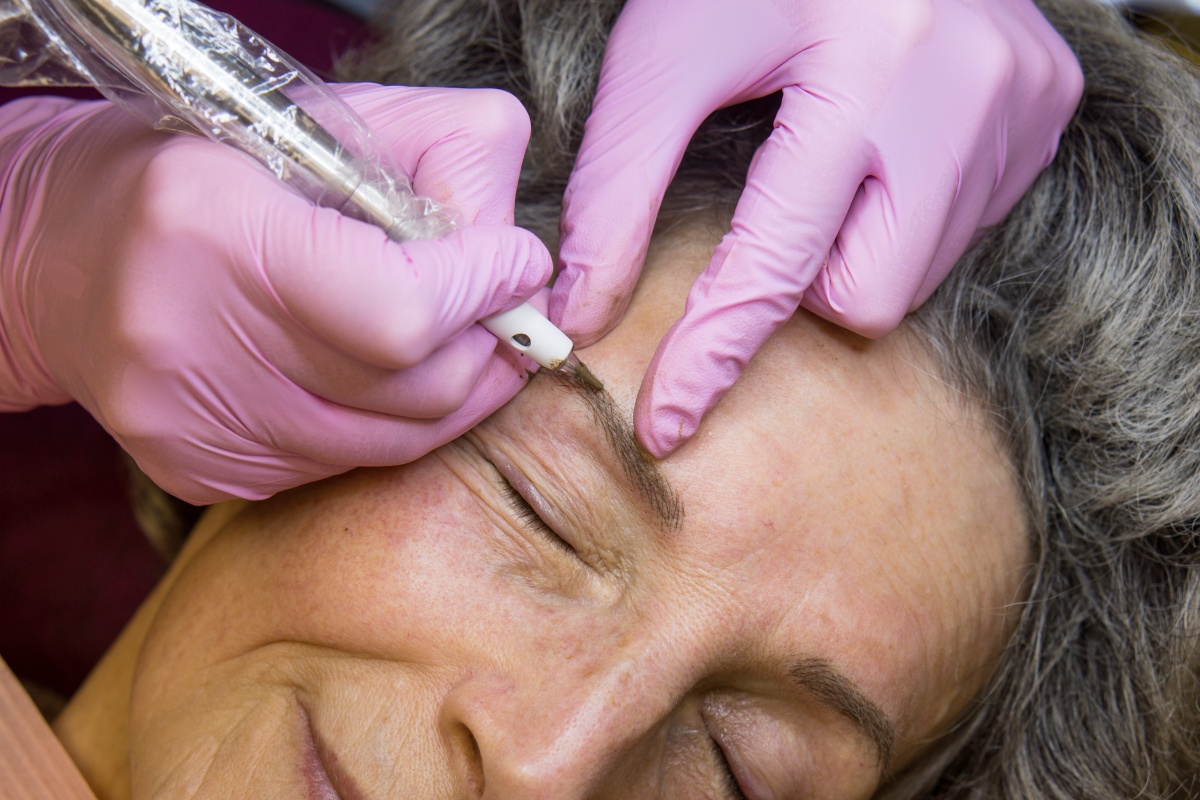
- We fix the shape of the eyebrow on the skin - this is the first stage of the procedure. To do this, over the entire shape of the eyebrow ⎼ from the lower to the upper border ⎼ we apply strokes that imitate the natural growth and direction of the hairs. With a dry cotton pad or napkin, remove the remnants of the anesthetic drug. We work, covering small areas, periodically removing excess paint. We check how the pigment is fixed in the skin. Then, on the already perforated skin, additional anesthesia can be applied for 3⎼5 minutes. At this time, we begin to work on the second eyebrow.
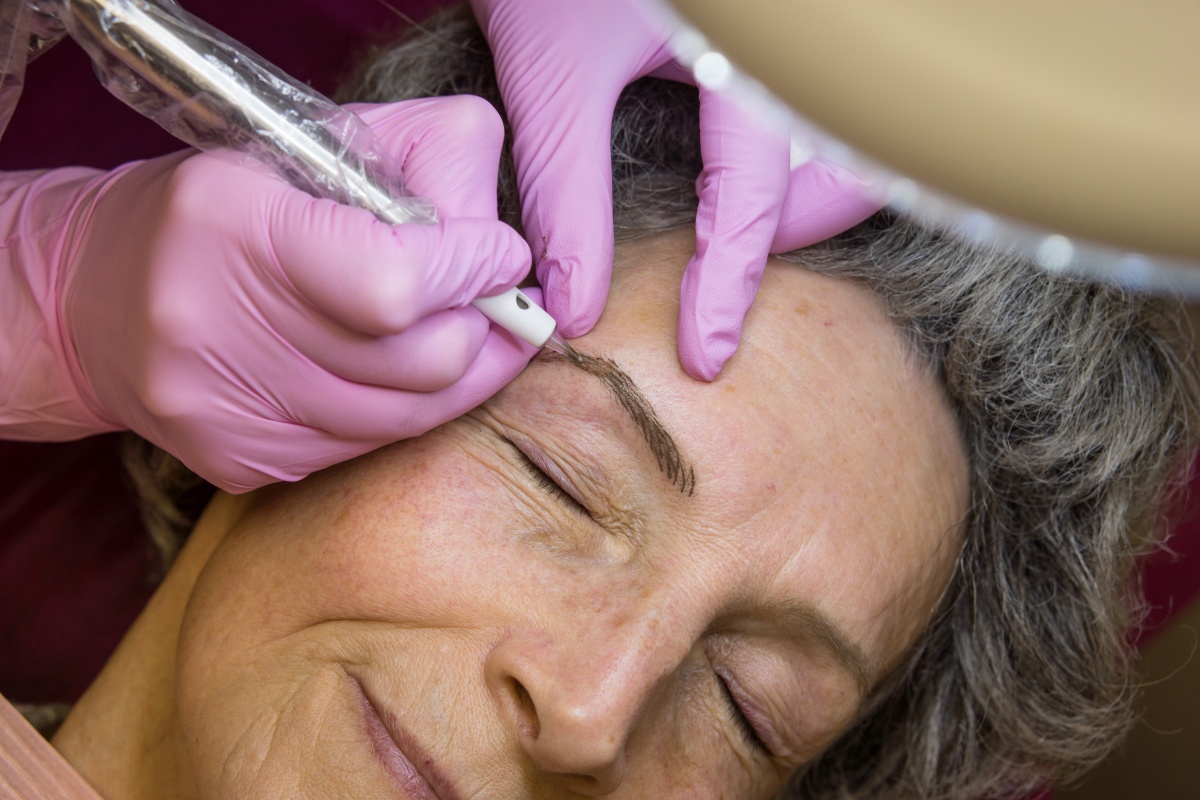
- We begin to draw the hairs from the head of the eyebrow to the tail, strictly in height, completely repeating the natural styling of the hairs. It is not necessary to make the distance between the hairs too large (with obvious gaps) or too small (so that the hairs do not merge into a single mass). At this stage, we remove excess pigment from the skin as often as possible, so that we can control its even distribution.
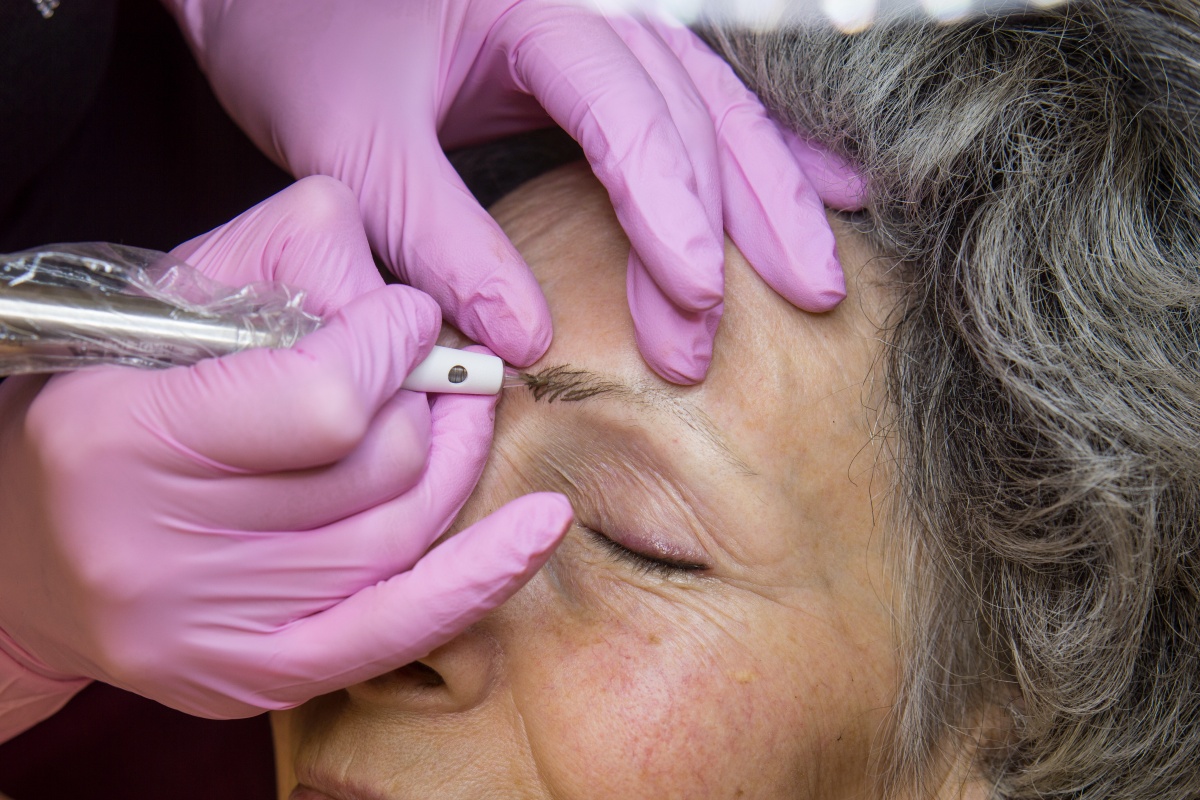
- After the basting drawing is fixed on the second eyebrow, we apply secondary anesthesia and again go to the first eyebrow. On the basting strokes, we draw brighter and clearer hairs. Each of them must be perfect, with its own unique pattern, well drawn. As you approach the tail of the eyebrow, the slope of the hairs should increase. From the middle of the eyebrow, almost all hairs begin to look down. Each client has his own pattern of hair growth, and this must be taken into account. You can not draw hairs strictly vertically, because in nature the hairs intersect with each other.
- I recommend working on both eyebrows in turn, in order to be able to conveniently control the brightness of the color and symmetry. Constantly moving from one eyebrow to another, we can control the overall tone of the work, monitor the harmony of the pattern. We collect the desired color gradually, in layers. Even made in one color, the work can look multicolored if you change the needle pressure and the number of passes over one area. Each dark hair, like the light one, should end in a thin, gradually disappearing line.

- The head of the eyebrow is drawn much weaker: this area should look lighter than the entire eyebrow, in this case the effect of naturalness is achieved. The hairs here need to be arranged less often and more vertically. When working at the very beginning, the eyebrows can be moved more quickly so that the hairs do not look very dark. This makes the head more transparent.
- We start drawing each hair from the base. The pressure with the needle is not strong, only a slight vibration of the skin should be felt under the fingers. As you approach the tip of the hair, the pressure weakens. In this way, you can achieve the greatest naturalness and believability of the picture. Do not forget to constantly check the symmetry, compare the eyebrows with each other. The ends of the hairs should be so thin that, merging with the skin, the paint becomes invisible.
- Don't forget about accents. Some hairs may look darker and thicker, just like in real life. Getting to work on the second eyebrow, you need to compare it with the first as often as possible. The slope of the hairs, their density and brightness of color should be repeated.
- In accordance with the canons of eyebrow construction, the tail should be the thinnest part, and also be not lower than the line of the eyebrow head. So that it does not seem overloaded, we are working on this zone in the very final.
- When the work is almost finished, I want to add naturalness ⎼ darken the area where the hairs grow most densely, and also add small strokes imitating vellus hair to the drawing.
- At the end, we apply a wound healing cream, and only after that the procedure is considered complete. Now it is very important to clearly explain to the client the rules for the care of permanent makeup, to draw his attention to the fact that following the instructions is 50% of the success of the result. You also need to supplement your story with written instructions.
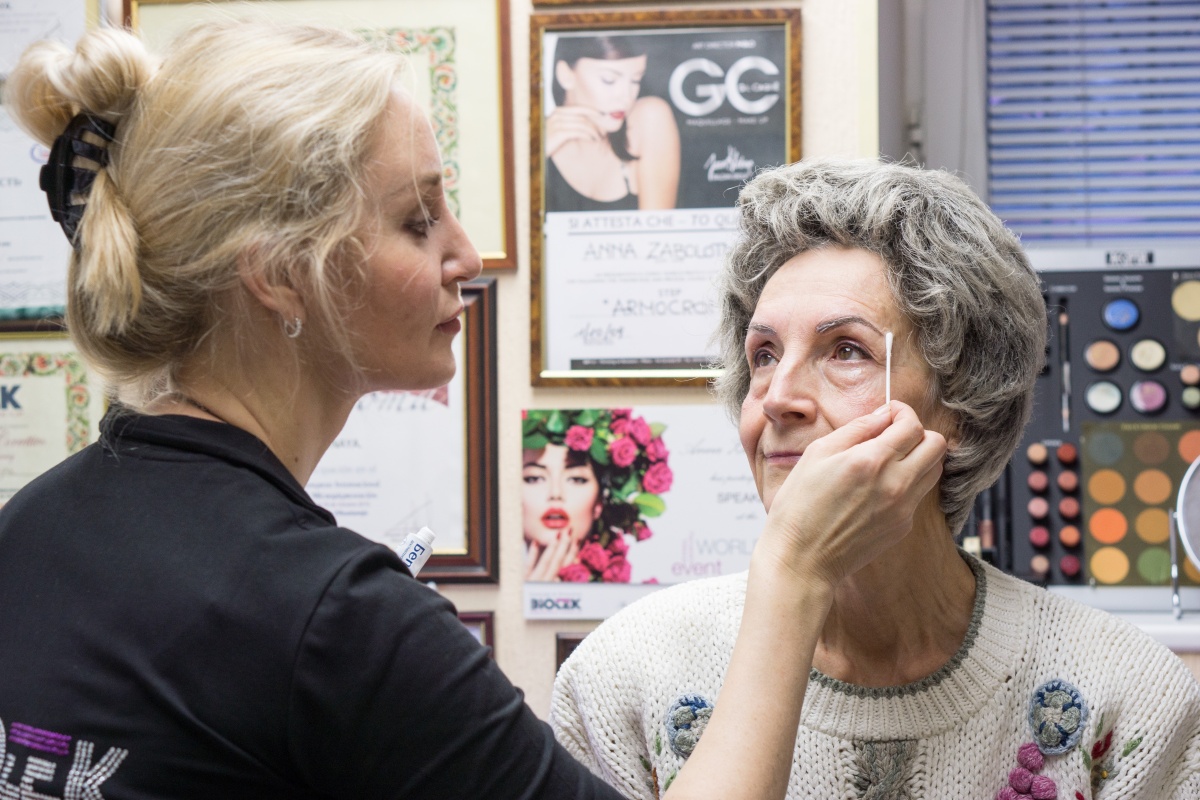
- The most important thing is to make sure that the client is satisfied with the result. After complete restoration of the skin, after 4⎼6 weeks, the work should be examined and, if necessary, a correction should be made.
Read also
- Eyebrow hair tattoo: the desire for naturalness
- Step-by-step procedure "Eyebrows in the hair technique" from Nadezhda Kosolapova
- Combination of techniques in permanent eyebrow makeup
- Style 2020: all the trends and trends in permanent makeup
- Permanent makeup: learning how to draw natural eyebrows
- Asian hair tattoo technique
- European technique (hair tattoo)
- Hair technique for permanent eyebrow makeup