Lip tattoo with 3D effect
Anatomy of popular permanent makeup techniques
The contour with shading on the lips has come back into fashion, and the now very popular 3D technique in permanent makeup just allows you to achieve such a result.
Kristina Rudko , certified trainer and representative of the international Purebeau company, leading colorist of TM Purebeau, co-founder and founder of the RUDKO ARTLINE international permanent makeup academy in Ukraine, TOP trainer of online permanent makeup training programs, participant, winner and prize-winner of international permanent makeup championships , speaker of conferences and congresses, author of publications in the scientific and professional journal PERMANENT, creator of author's techniques (Ukraine)
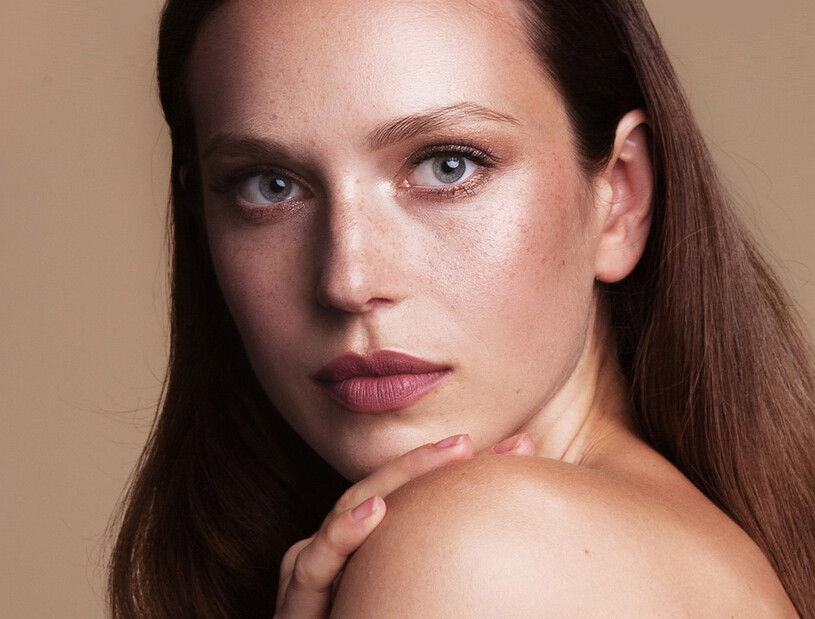
Recently, we often hear the expression “3D lips”, the contour with shading has come into fashion again, at the peak of popularity, Naomi Campbell’s lips, which have always attracted attention with their volume and play of color: the contour is more pronounced deep and the middle of the lips is lighter, nude . Due to this, the lips appear voluminous, juicy and attractive.
The 3D technique in permanent makeup, which is very popular now, just allows you to achieve such a result. In addition to the play of color, this type of permanent makeup gives the effect of a slight decorative effect, but at the same time retains naturalness.
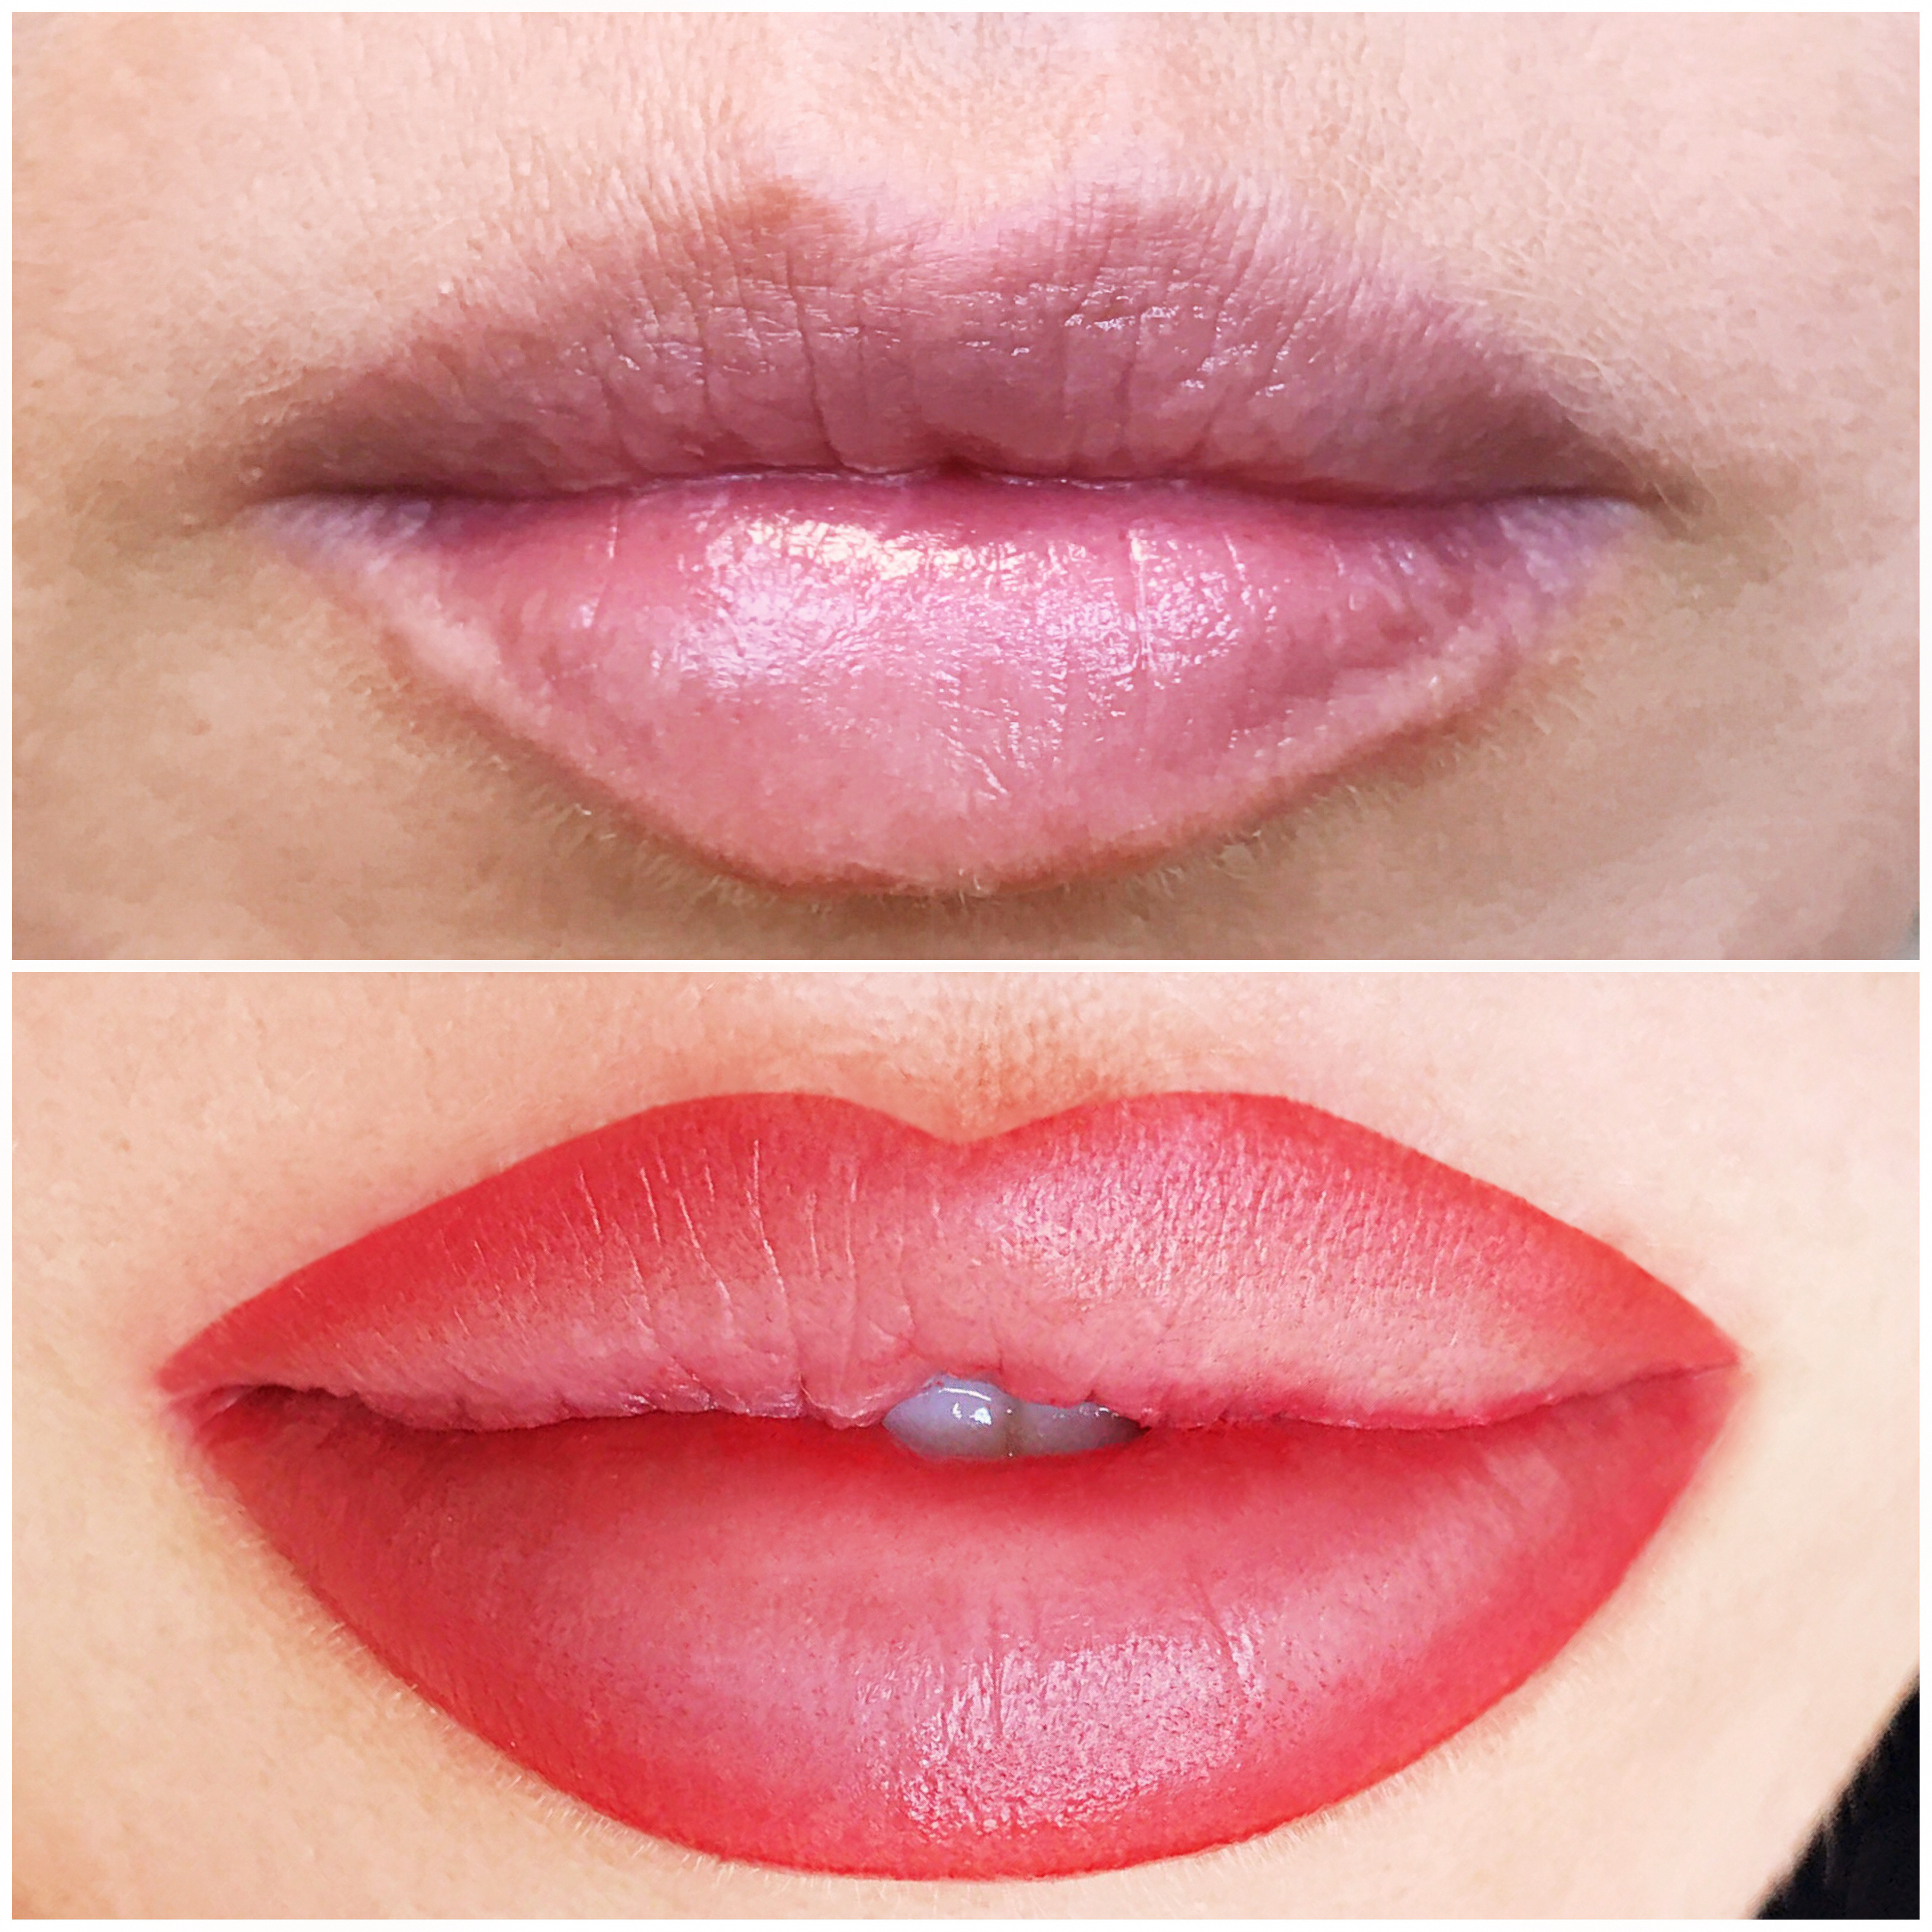
Lips in technical 3D. Photos of works provided by the author
This effect is achieved by a smooth transition from one color to another through a combination of shading and contouring techniques. The procedure can use two types of needles - 1R and 3RS, or the entire procedure can be performed with a 1R needle. The technical result, in which a similar effect is obtained, can be achieved in two ways.
Method number 1: the use of several shades, with layer-by-layer application of them on top of each other.
Method number 2: stretching the color with one shade.
One technique solves several problems
This technique is not simple, but it solves very important requests and wishes of women when correcting the perioral zone:
- get a more pronounced clear contour of the lips;
- hide the lowered corners of the lips or darken the light areas in the corners;
- add visual volume to the lips;
- correct asymmetry;
- add natural color and brightness.
I think there is no need to explain that with this technique, the issue of daily makeup application is immediately removed.
Every day, fillers lose their relevance, as they give a slightly unnatural volume (in some cases, up to “duck” lips). But if the client wants plump lips and volume, then permanent makeup visually creates a stunning effect of plump lips due to the play of colors and chiaroscuro. Every master who follows the latest trends in permanent make-up must master this technique in order to satisfy the needs of clients and be always in trend. After all, a master who has relevant permanent makeup skills is valued and more popular than a master who performs standard techniques.
Proper care and implementation of recommendations will make it possible to enjoy beautiful lips from 1 to 3 years, the client's skin and its features also matter. Therefore, it is very important to give your client the following recommendations:
- protect yourself from the sun, especially in the first days after the procedure; do not forget to use sunscreen after the procedure in the summer;
- do not drink hot drinks and beware of exposure to temperatures (baths, saunas);
- do not soak lips;
- do not use cosmetics, gels, scrubs, etc.
Let us consider in detail the procedure for applying a permanent in the 3D technique and analyze the most common mistakes of masters working in this technique.
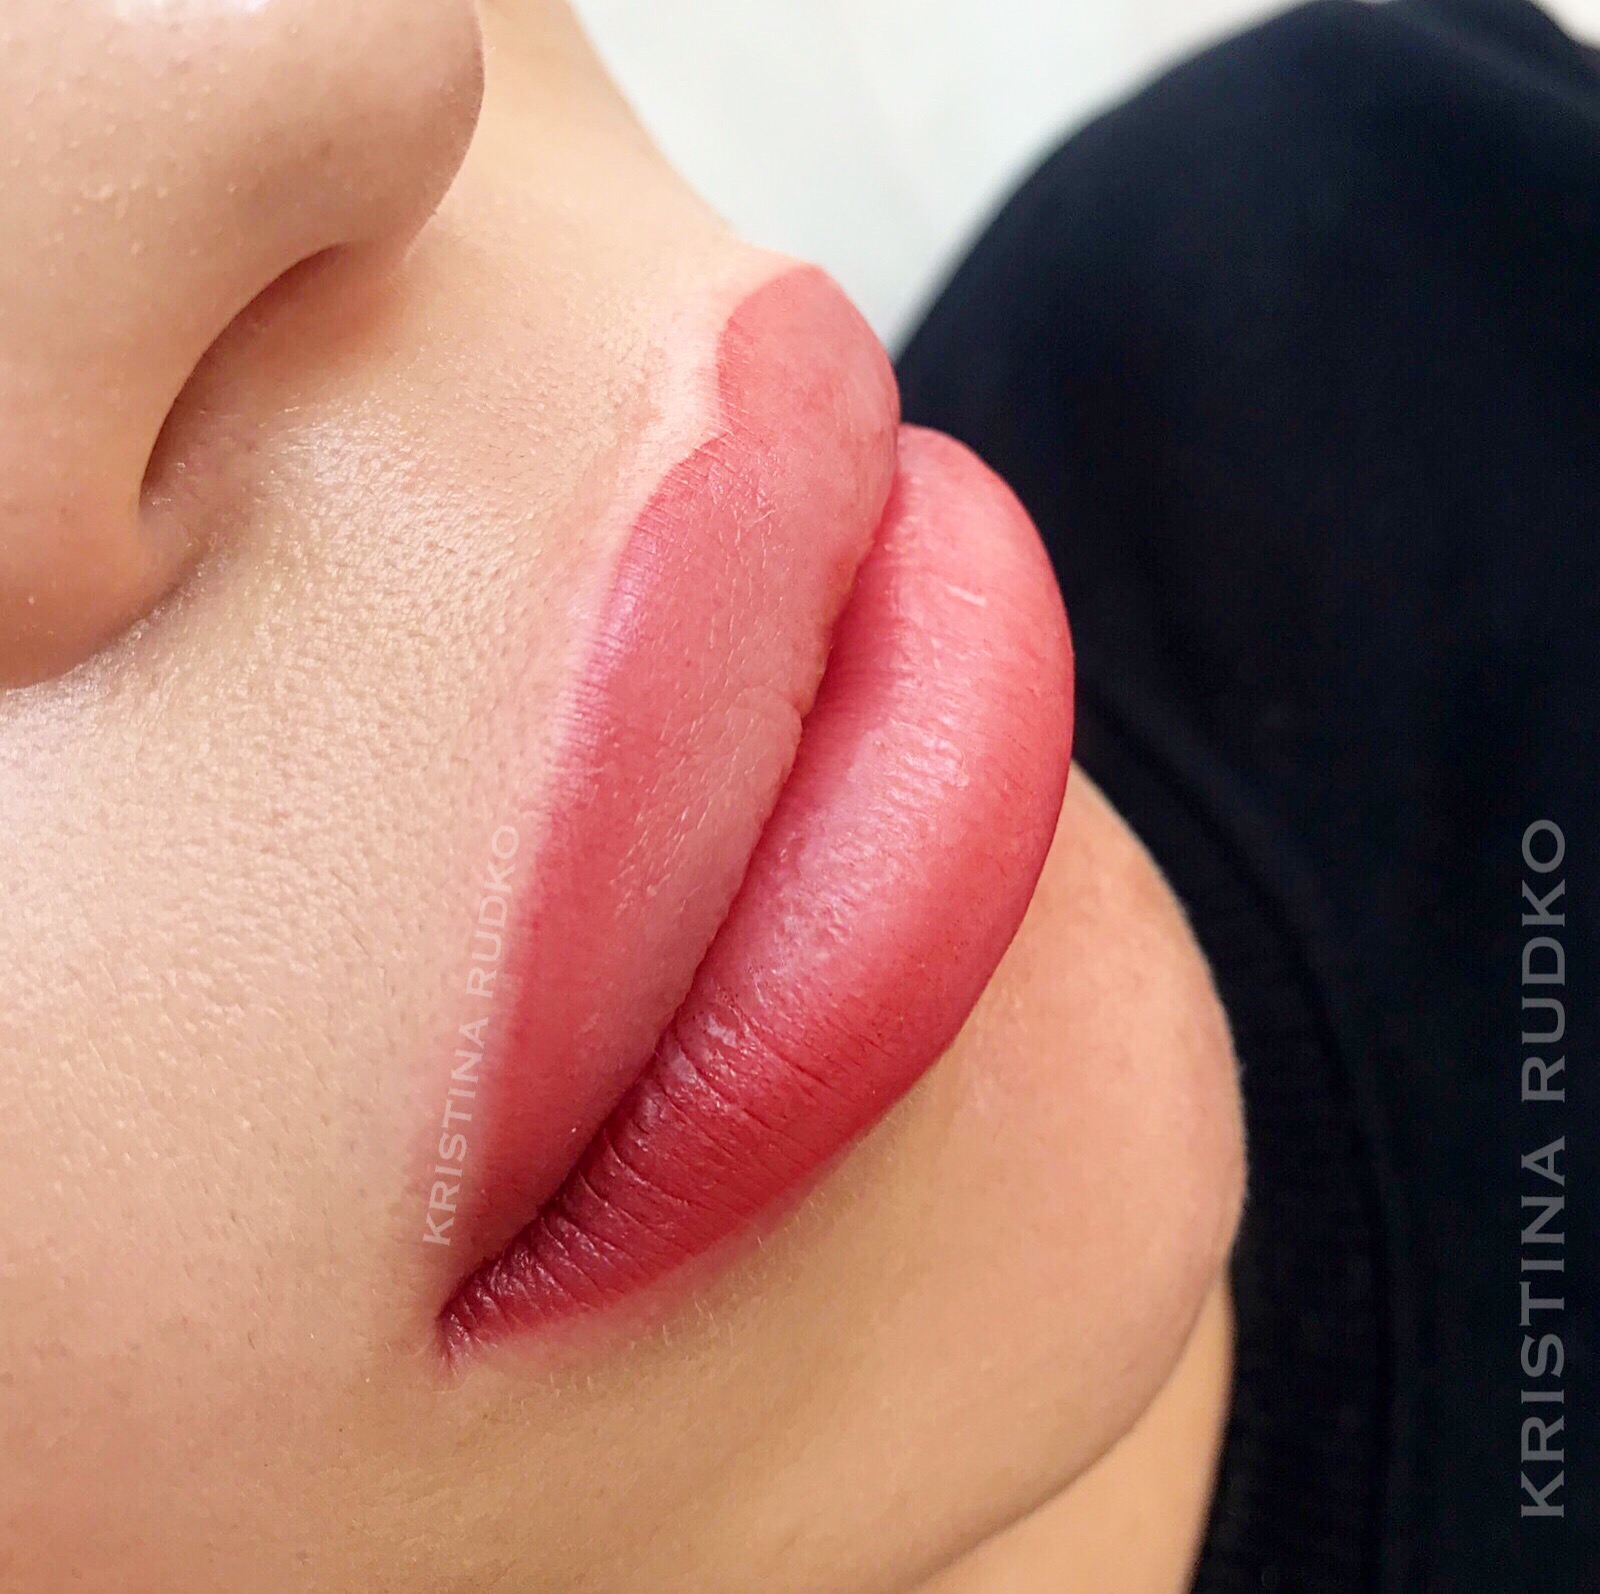
Lips in 3D technique. Photos of works provided by the author
The nuances of technology
The procedure for performing permanent makeup in 3D technique consists of the traditional stages of PM.
To begin with, we sign an information agreement with the client, in which the client gets acquainted with the entire list of contraindications, emphasizes that he does not have allergic reactions and diseases that are absolute contraindications to permanent makeup. After that, we conduct a mandatory preliminary consultation, during which we discuss the shape, color, wishes of the client, discuss all the possible nuances of the procedure.
There are situations when, for certain reasons, this technique cannot be applied. These reasons include:
a) hyperpigmentation;
b) too narrow lips (the ombre technique will not be visible, a pencil effect will appear and the impression of a thin contour drawn, which does not look modern and not beautiful);
c) strong asymmetry is also the reason why the ombre technique is not feasible - we will only emphasize the asymmetry of this technique (in this case, it is recommended to consult a doctor and inject lip augmentation, and then carry out the PM procedure after a time that the injection doctor will announce);
d) the use of cold shades on cold lips: if your client came with a very cold lip undertone and asks for a dark caramel or plum color - know that this will only increase her coolness of the lips and the color will go into a colder one, it will not be profitable to emphasize the lips, add age , spoil the work of the master.
When creating the ombre technique, it is enough to use 1-2 colors, because the effect is achieved, first of all, due to a smooth transition and density of color application. I most often use 2 shades, in the order that will be described below.
We make a sketch. We make contrasting shades using pencils. I usually use a bright red and white wax crayon.
The next step is the application of anesthesia. It can be either cream or gel. We maintain a break according to the instructions. Next, we absorb the area of the future tattoo with a dry napkin, without rubbing, but gently blotting the remnants of anesthesia, and proceed to the procedure.
Rice. 1. Hatching schemes
The first step in the procedure itself is to fix the sketch. We fix the contour with dashed movements in a linear technique, apply the pigment in one pass clearly along the outlined contour with a straight line. Our short strokes of 5-7 mm are layered on top of each other, forming a single line, in this way we can easily maneuver and bend this line very evenly (Fig. 1, scheme 2).
We begin to fix the sketch from the lower lip so as not to smudge the upper one. After fixing the contour, I choose a shade that is 3 shades lighter than the main color, and complete 1 pass completely, as if we were doing a watercolor effect. The strokes are sweeping, even, covering the entire surface of the lip. Thus, with this light color we make 1 pass (Fig. 1, scheme 3).
If the client is hypersensitive or has lymph, we apply secondary anesthesia (I usually use Sustaine). We withstand, according to the instructions, 90 seconds, during which time hyperemia occurs, the skin turns white, anesthesia works and you can work.
Next, we take the main color - it should be sufficiently contrasting, it is better not to use two nude shades in the ombre technique, since the gradient will not be visible as a result. It is better if the colors differ by two or three tones. With the main tone, we start working from the opposite corner of the lip, filling the corner of the lip completely. After passing 1-1.5 cm, we smoothly move on to filling only the contour zone, which occupies 1/3 of the width of the lip. Our strokes are quite dense, as with fondant shading, we apply the stroke tightly to each other, of the same length and depth, according to scheme 4 in Fig. 2. We make 1-2 passes.
Rice. 2. Hatching schemes
After that, for a more uniform coloring and to avoid spots and borders, we apply strokes in the same way, but in a diagonal direction - from the contour towards the mucosa. Such passages need to be made 1-2, the length of the stroke is equal to ½ of the width of the lip (Fig. 2, scheme 5).
When working with this technique, we must make sure that the edge zone is densely shaded and has no gaps. If you notice gaps in the near-contact area, fill them separately according to scheme 6 or scheme 7 (Fig. 2). We complete the procedure by wiping the lips with chlorhexidine and applying a caring healing ointment, tell the client the rules of care and write it down for correction in 1-2 months.
The most common mistakes
Beginning masters and those who are just mastering 3D techniques make several typical mistakes, which I want to talk about.
Tension failure. There will be no proper skin tension - the pigment will be applied poorly and for a long time. In the absence of tension, the procedure time increases, respectively, the level of traumatization increases and the pigment residue will be very small. Be sure to take into account the correct tension of the skin and its fixation.
Difference in color depth . The color transition is achieved not by the depth of pigment penetration, but by the number of application layers, that is, by density. With a deeper laying of the pigment, the color will migrate to other shades and become colder, up to a lilac-blue color. An error occurs when the pigment does not fit and the master begins to press hard on the skin.
I also see a big problem for many masters in that they do not know how to paint over tightly, so the contour and ombre effect are lost. With this technique, the contour should be readable and visually visible, not blurry.
No schema . When strokes of different lengths are randomly stacked in an incomprehensible order, this leads to spots. Therefore, you need to clearly follow the scheme, evenly laying the strokes. The strokes must be the same size, the same depth of penetration. You should also observe the same speed of hand movement and monitor the speed on the device, which also should not change.
I do not recommend the masters to use the “ombre” technique if an age client who has purse-string wrinkles has come to you for the procedure. The basic principle of the technique is that the contour should be pronounced, and if there are wrinkles, it will go in “waves”, which will give the client an extra age, and your work will look sloppy.
This technique is a real find for women who want to emphasize their lips and visually enlarge them without the help of plastic surgeons and injection cosmetologists. Natural swelling, volume and beautiful color of the lips are exactly what can be achieved with permanent makeup using the 3D technique (ombre).